May 20, 2024
How to Set Up a Google Analytics Account
By Megalytic Staff - June 01, 2017
![]()
Creating Your Google Analytics Account
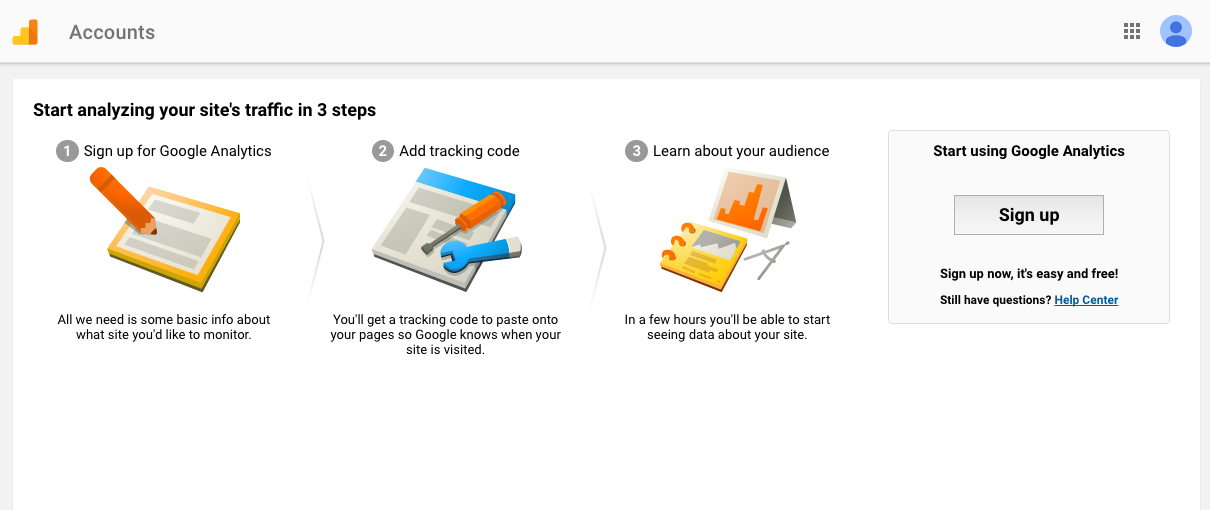
To start, simply go to the Google Analytics homepage , where you’ll see a link to sign up for a free account. Next, you’ll be prompted to sign in with an existing Google login or create a new login. Once you’ve logged in, Google will present a screen to begin setting up your new Analytics account.
Now, you’ll begin defining criteria for your account. The Account Name should be high-level to your brand, because multiple properties for various websites that are part of your brand could be included here. As a primer in Google Analytics account structure, note that an account is the highest level of organization. Within an account, each property represents a single tracking code that will be used across a site.
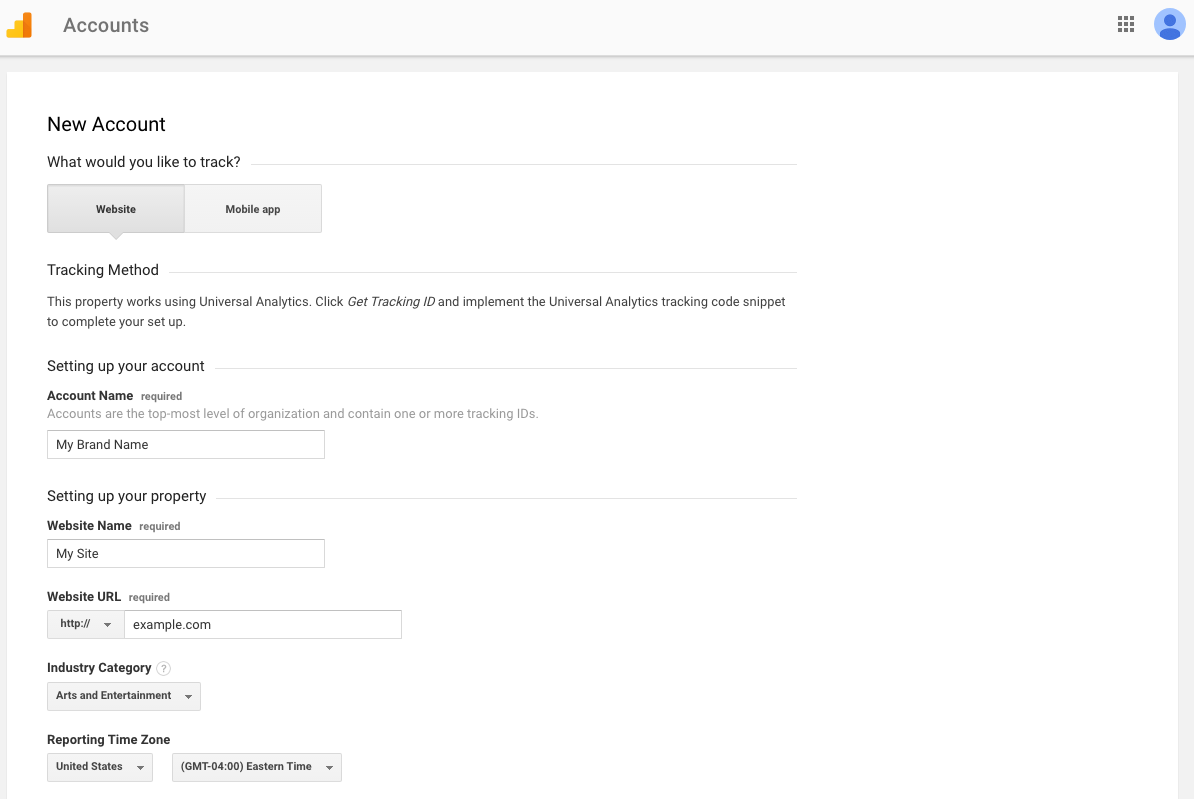
Within each property, various views can filter different ways to look at traffic on the same site. For instance, you may create different views by subdomain (blog.example.com vs. store.example.com) or by region (U.S. traffic vs. European traffic).
Next on this page, you’ll provide your website name, which will ultimately become the property name within this Google Analytics account. Provide the website URL, being sure to use the dropdown to specify if the site is on http:// (nonsecure protocol) or https:// (secure).
Use the Industry Category dropdown to specify what niche your site fits in. Defining this category will allow access to Benchmarking Reports , comparing data against other sites in your industry. Finally, define a time zone, noting that this will affect how data is correlated by hour and day in your account.
Adding Your Tracking Code
Once finished with the previous steps, select “Get Tracking ID” and accept the service agreement that appears. Next, you’ll see your property overview, where the Tracking ID appears.
![]()
Now you need to add the tracking code to your site. If you have development skills and are able to access your website’s source code, add the code snippet under “Website Tracking” right before the closing tag in your site template. If you work with a developer to manage your site, copy the code and send it to them to implement.
Some website content management platforms, such as Squarespace, include a field where you can insert the Google Analytics ID without having to touch code. For a site running on WordPress, you can install a free Google Analytics for WordPress plugin .
Finally, you can use Google Tag Manager to install Analytics. Once the Tag Manager code is put in place, either by you or by a developer, you can deploy Google Analytics and customize further aspects such as goal and event tracking all through one interface. For detailed instructions, see our post about Implementing Analytics with Google Tag Manager .
Verifying Traffic
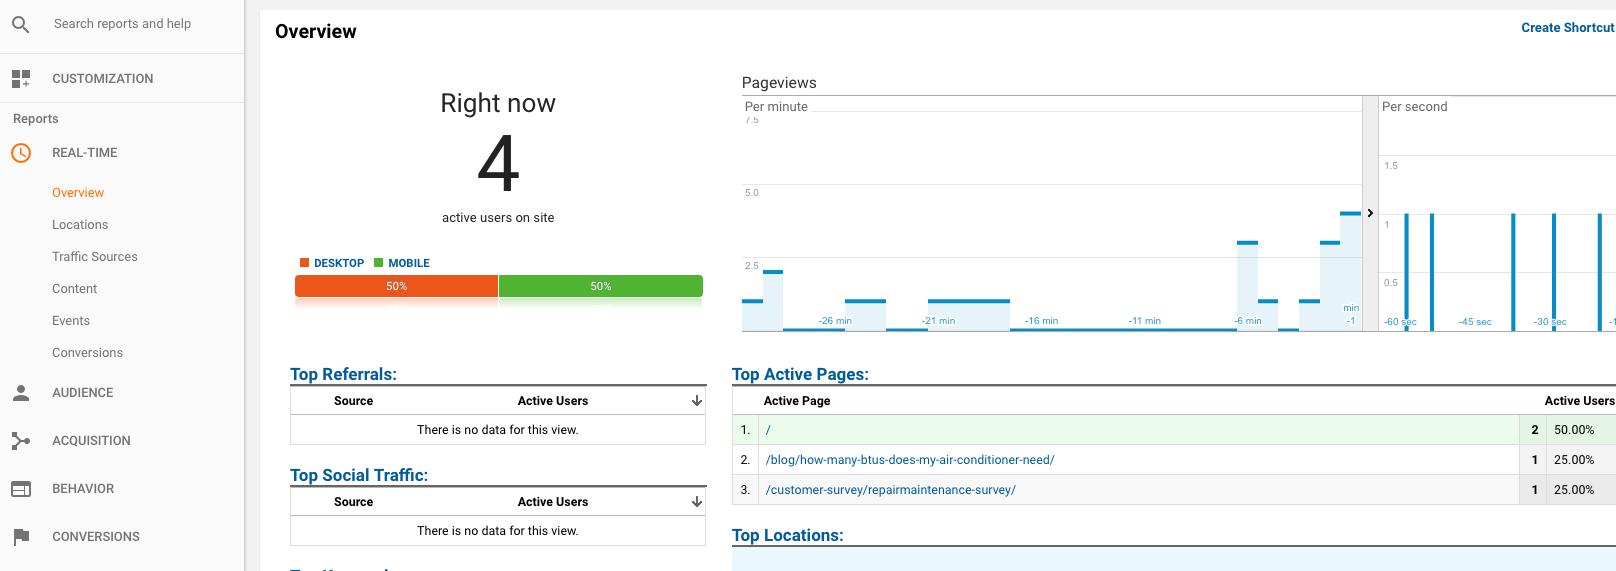
After the tracking code is put in place, you’ll want to ensure that Google Analytics is actually capturing and showing traffic from the site. To check that, visit the site from your own browser and go to the Real-Time section of Analytics. If the code is implemented properly, you’ll see visit(s) appearing here.
You can also use the free Google Tag Assistant extension in Chrome to verify correct code installation.
Sharing Access with Team Members
After setting up a Google Analytics account, you’ll want to ensure that anyone who needs access is able to view the data. If you work for an agency, team members such as SEO specialists, PPC specialists, and account managers may all require access. On the client side, a marketing manager and CEO may both want to be able to view data.
To share account access, go to the Admin section of Analytics and select User Management on the account, property or view level.
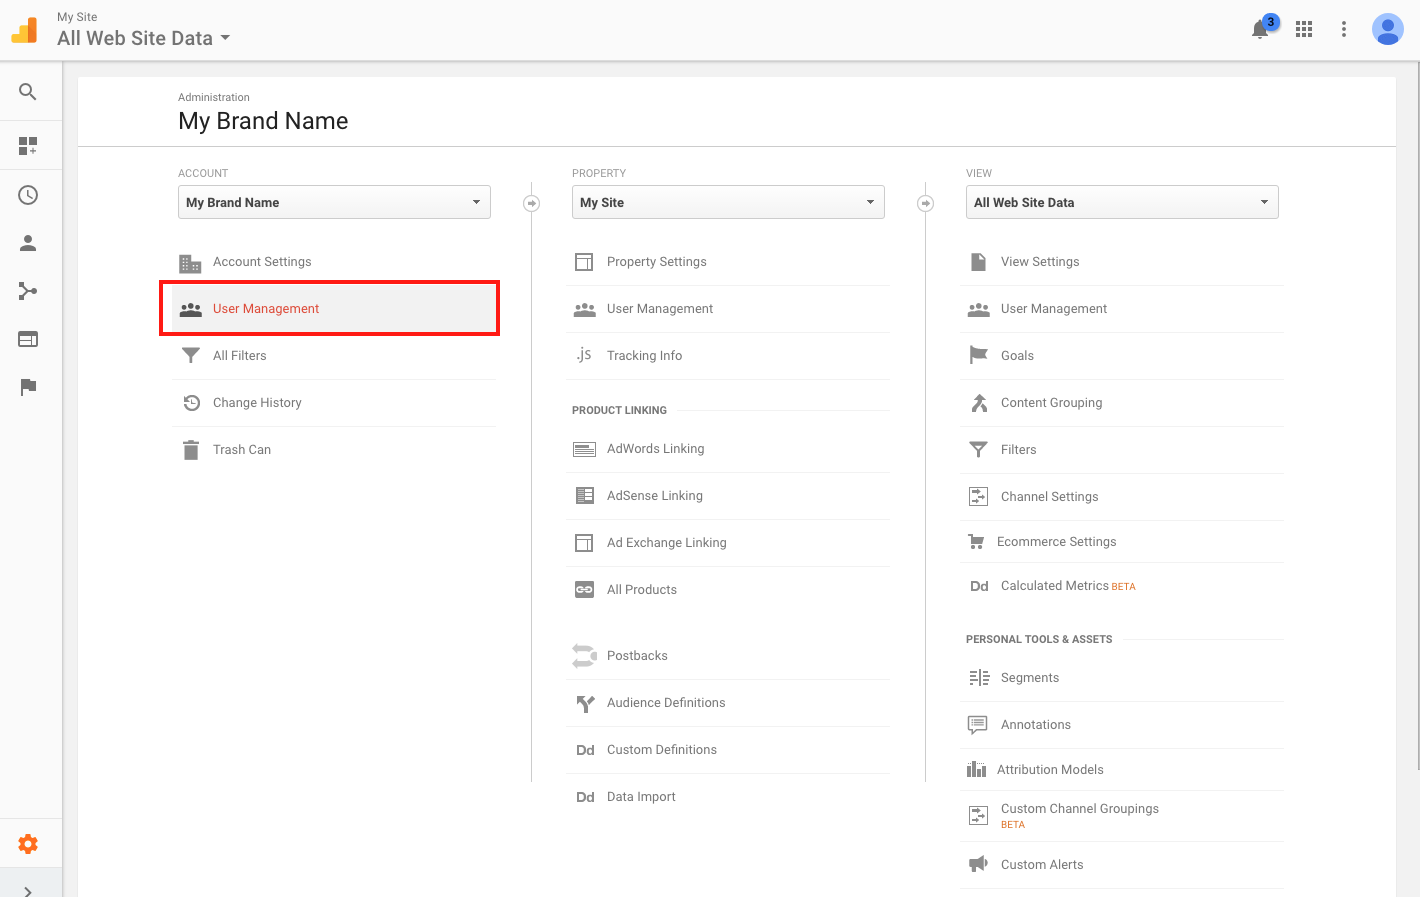
If you’re sharing access to all properties contained in an account, use the account level. If you’re sharing access to an individual property or view (perhaps there are multiple websites in place by region and certain people only need access to their own regions), use the respective options for those categories.

Once in this interface, you can enter the email address for the person you’d like to add. Note that this has to be an address attached to a Google account.
Choose between access levels based on what the person needs to be able to do in the account. If you’re sharing access with an intern, they likely just need to look at data and shouldn’t need access to edit, so “Read & Analyze” access will suffice. “Edit” level access will allow a PPC manager to set up goal tracking and link an account with Google Ads. “Manage Users” access should only be given to people you can trust with the power to share or take away access.
Set Up Conversion Tracking
By default, Google Analytics will track how many people are visiting your site, how long they’re spending there, and what pages they’re viewing. However, you won’t see actions directly related to business performance, by default. Conversion tracking needs to be set up in order to track product sales or lead form submissions. Google Analytics Goals will allow you to track the actions that correlate with the business and help gauge return on investment for various campaigns.
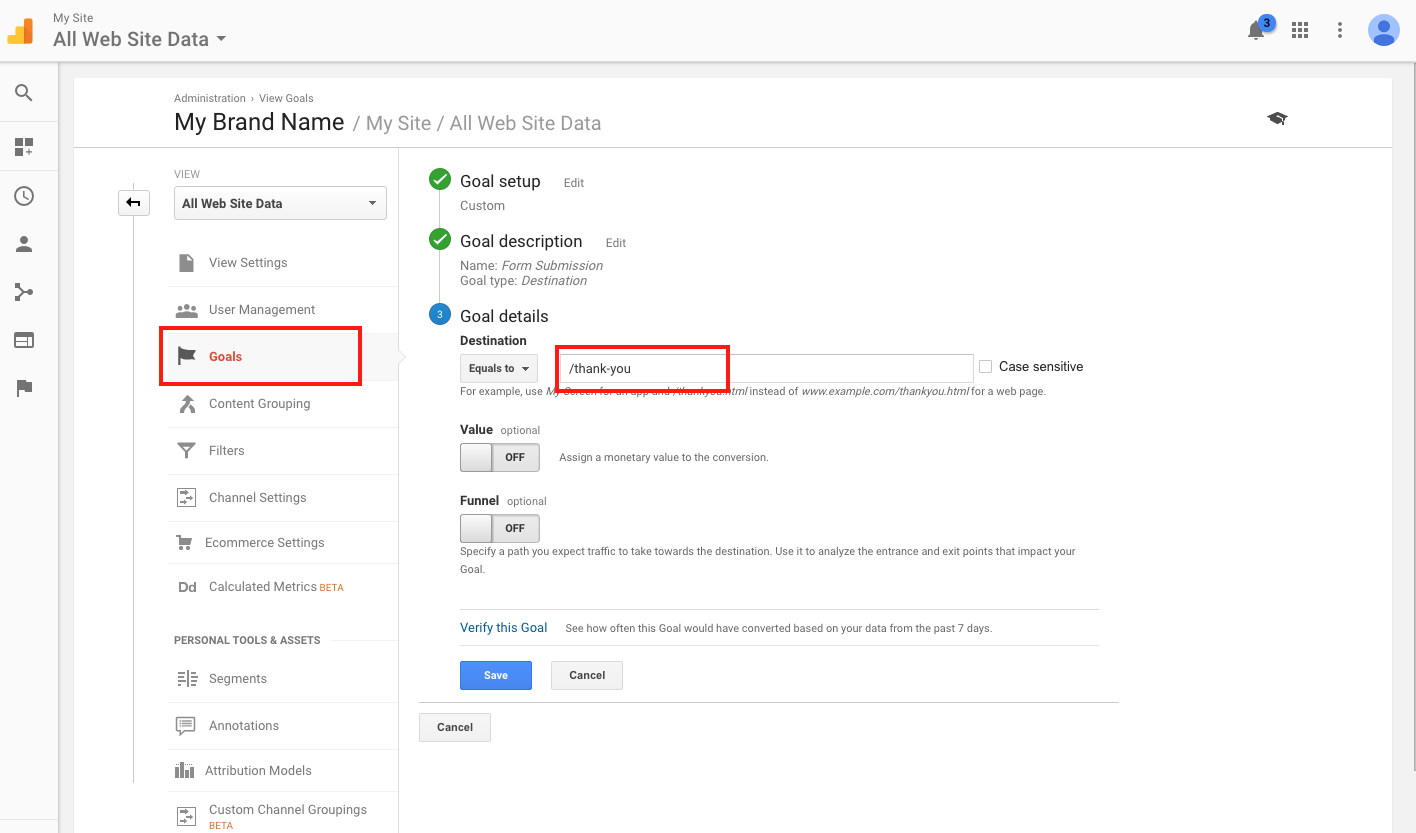
If your site delivers a “Thank You” page after a form submission or purchase, copy the URL for that page and use the Goal setup interface to track any visits to that URL as a conversion. For a more detailed step-by-step walkthrough, see our post on tracking business goals in Google Analytics .
Conclusion
A properly configured Google Analytics setup allows you to obtain a thorough picture of how people are interacting with your brand online. Thankfully, the setup process is relatively simple - even for those with little to no knowledge of coding. If you haven’t yet installed Google Analytics on your site, get on it! Create an account, set it up, and begin watching the visits come in. From there you can analyze user behaviors, interests, and actions to make better informed and more effective decisions about your digital marketing strategies.